
How to
Recording acoustic guitar and other stringed instruments
Royer ribbon microphones translate the body, warmth and tonality of acoustic instruments with no shrill highs. Here are proven mic choices and placements for acoustic guitar, ukulele, violin, cello, mandolin, Dobro, bouzouki and ensembles.
Royer ribbon microphones record acoustic instruments beautifully. They translate the body, warmth and tonality of the instrument with no shrill highs, ever. From acoustic guitar, ukulele and mandolin to violin, cello, harp and virtually any stringed instrument, Royer ribbons capture the tone and feel like no other microphones can.
LA session multi-instrumentalist Andrew Synowiec on recording nine different acoustic instruments with a pair of R-122 MKIIs.
Brighter recording on the back side
With Royer R-Series microphones, the back side records a little brighter than the front if the mic is 3 feet or closer to the instrument. When recording on the back side (recommended for acoustic guitar, mandolin, fiddle and other instruments that are close-miked), be sure to flip phase at the mic pre to achieve forward-polarity recordings.
Comparison: recording on the front and back side of an R-122 MKII phantom powered ribbon mic.
Comparison: recording on the front and back side of an R-121 ribbon mic.
Ribbon mics and EQ
Ribbons take EQ exceptionally well. With acoustic instruments, it’s good practice to roll off low end at about 100 Hz to reduce rumble. Boosting at 10-12 kHz adds a nice sparkle that helps an acoustic guitar cut through a dense mix. Don’t be afraid to boost as much as 8 or 9 dB of high end to achieve a more condenser-like response if you need it. Even with drastic EQ, Royers will always stay smooth in the highs.
The complexity of the track you’re recording, how many other instruments and vocal tracks your acoustic guitar will be sharing space with, and the overall sound you’re looking for will determine the amount of equalizing you’ll want to do.
Acoustic guitar and vocal, both recorded on a highly EQ’d R-121: Hear it in the audio and video library.
Acoustic guitar
In this section, we’ll focus on mic choices and basic mic placement for recording the acoustic guitar. These mics in these positions have been proven on countless sessions around the world, so they’re a great starting place for anyone tracking the acoustic guitar.
A good ribbon mic (or a pair of ribbons for recording in stereo), properly placed, will give you extremely natural sounding acoustic guitar recordings. You can easily capture all the warmth, size and detail you want for full, lush sounding tracks, or thin the tone out for more percussive or sparkly sounding tracks. All of the Royer ribbons perform well on acoustic guitars, although we recommend different positions for R-series and SF-series mics. Due to the gain requirements of acoustic instruments, we usually recommend that you use our more sensitive Active Series powered ribbons (unless you’ve got a slammin’ mic pre with lots of gain). All of the R-series mics will give good results on acoustic guitar, but for this writing, we’ll refer to the R-122 phantom powered ribbon.
Single mic
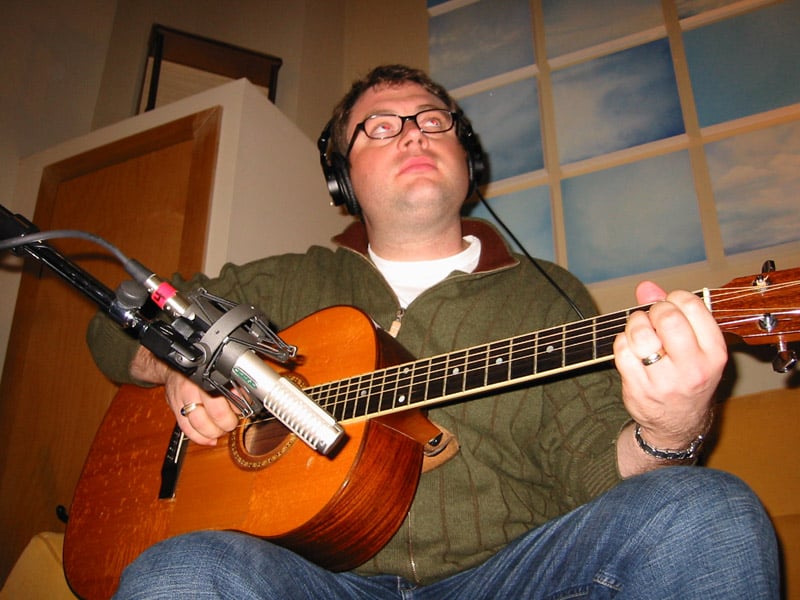
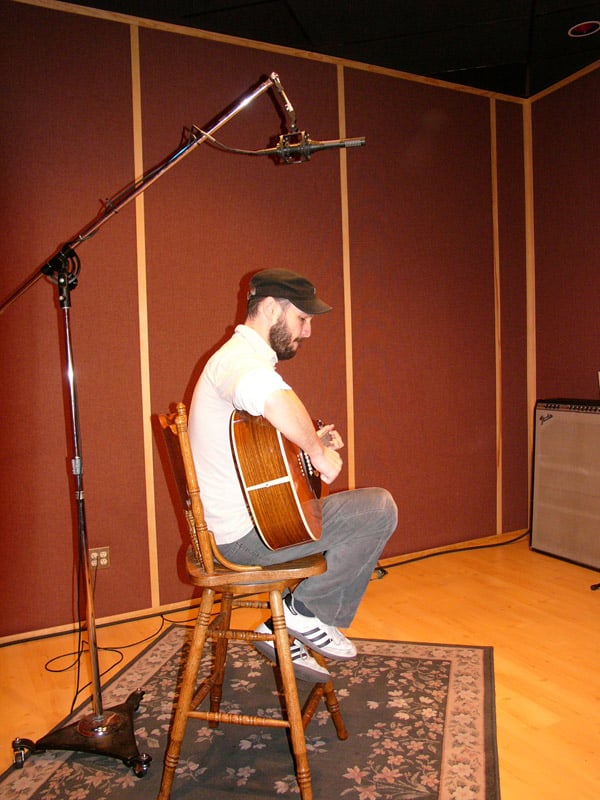
When single miking an acoustic guitar, a great position is 8 to 12 inches off the 12th fret, with the mic aimed at the soundhole.
Note: due to proximity effect, the closer to the instrument you place the microphone, the warmer the sound will be. For a brighter tone, or if you find that your track is overly warm or boomy, back the mic off a little, an inch or two at a time, until you like the balance of warmth and top end. It’s important to note that ribbon microphones tend to sound better when placed a little further back from where you would normally place condenser mics.
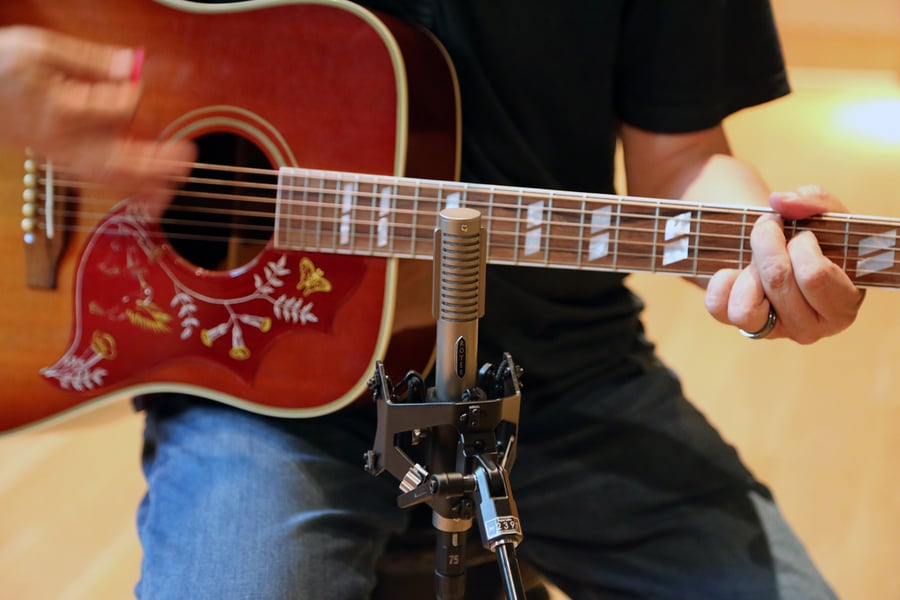
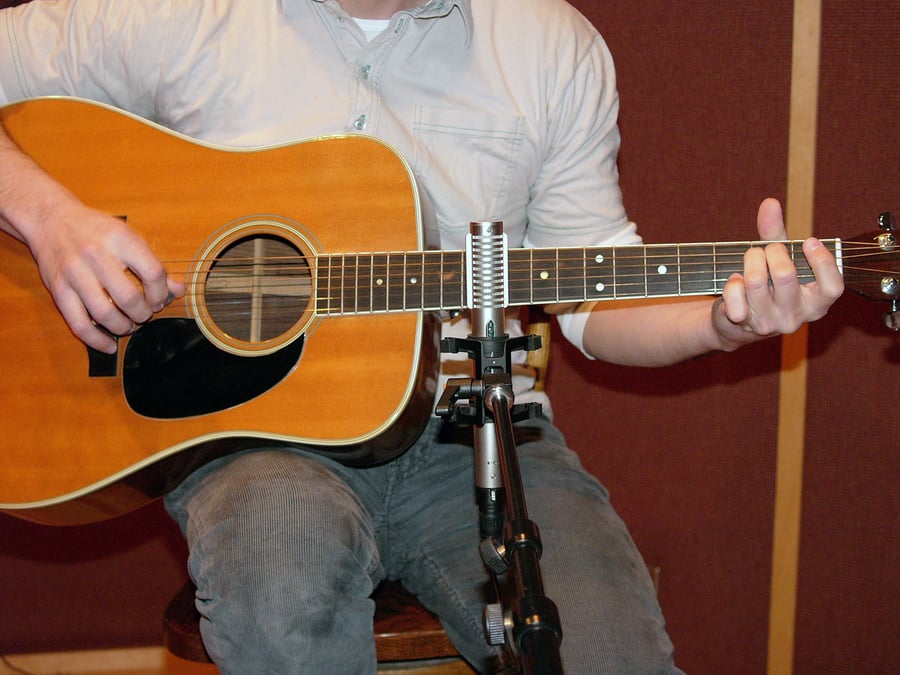
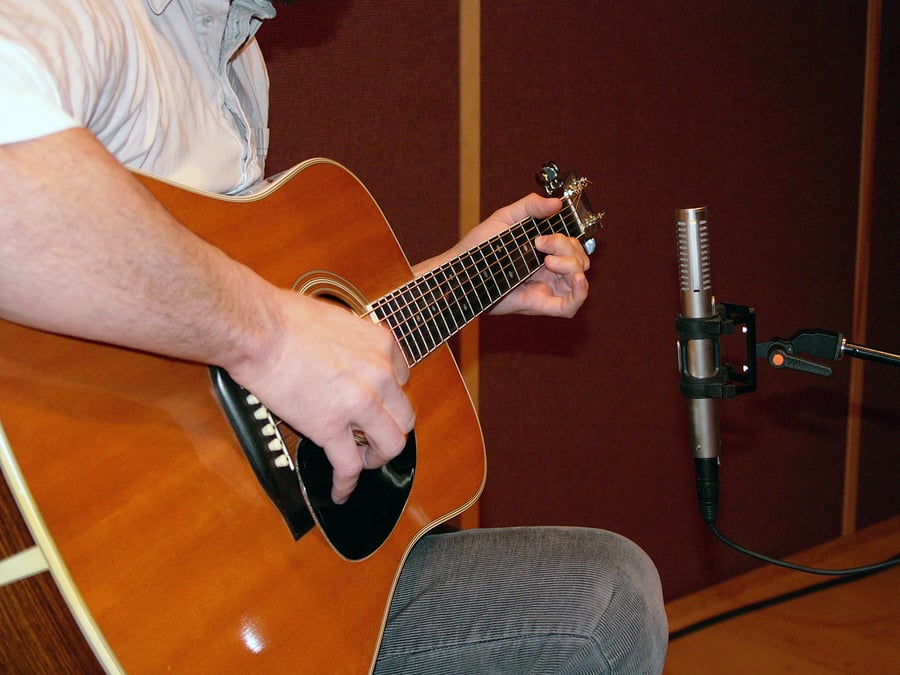
A mono R-122 usually sounds best when it’s positioned at about the 12th fret, 5 to 10 inches off the neck. The back side of the R-122 produces a slightly brighter sound than the front side of the mic due to its offset ribbon design, so we recommend turning the mic around and trying the back side for tracking acoustic guitars. We’ve seen this method used on countless sessions and we highly recommend that you try it. It’s our favorite way to track acoustic guitar! (Note: this method applies only to our R-series mics, not our SF-series mics.)

Stereo with two ribbon mics
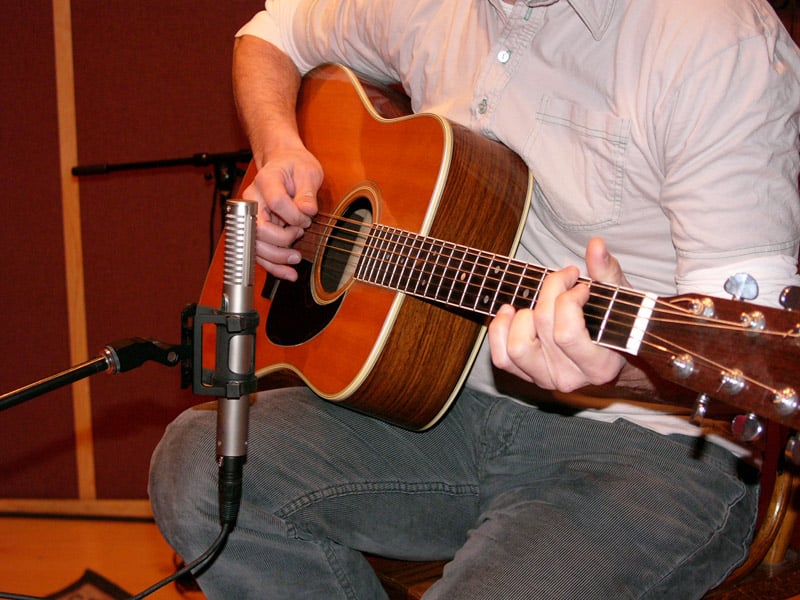
An excellent method for tracking the acoustic guitar in stereo is to use two R-122s positioned head-to-head in a Blumlein pair. The two mics are positioned 90 degrees apart, one facing the body of the guitar and one facing the neck. We suggest using the back side of both mics, remembering to flip phase at your pres.
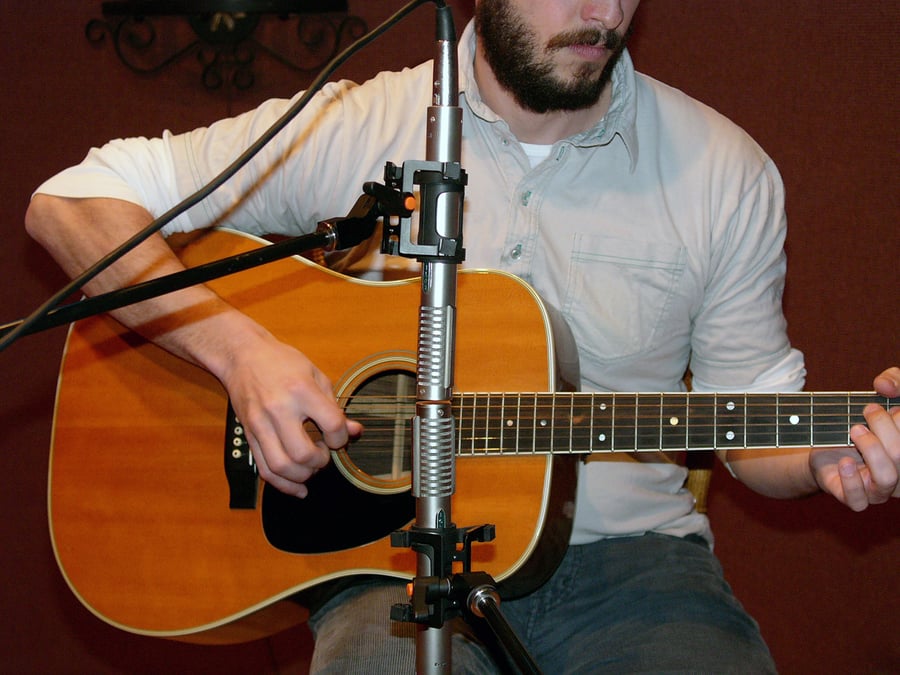


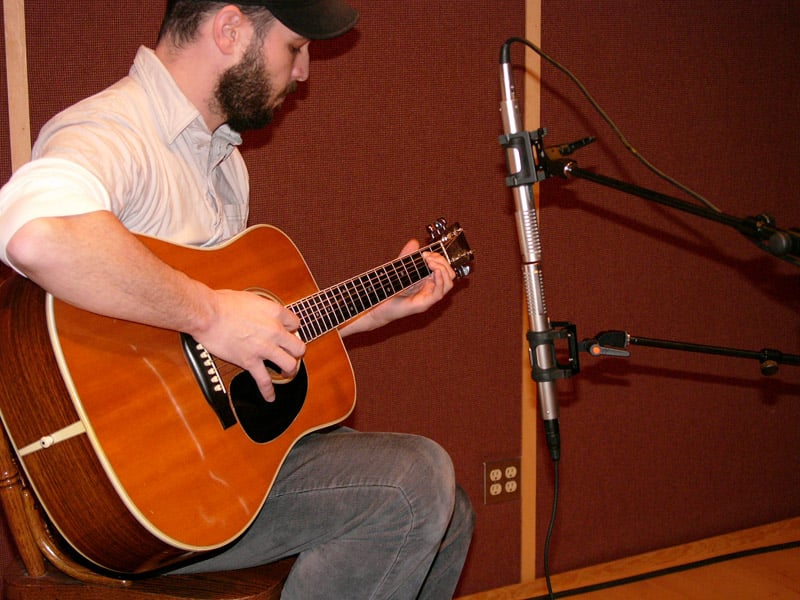
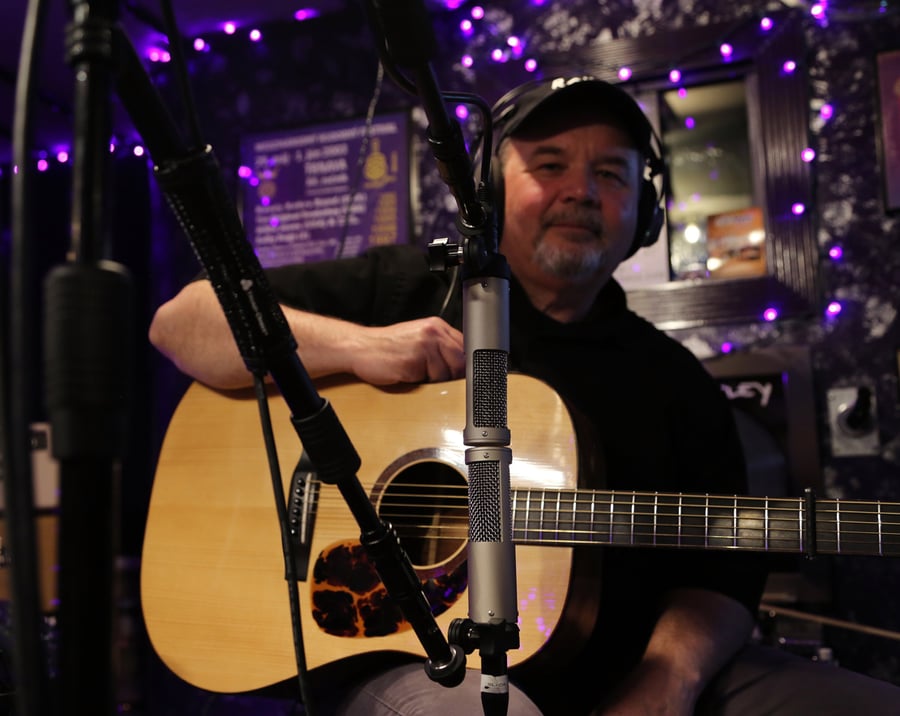
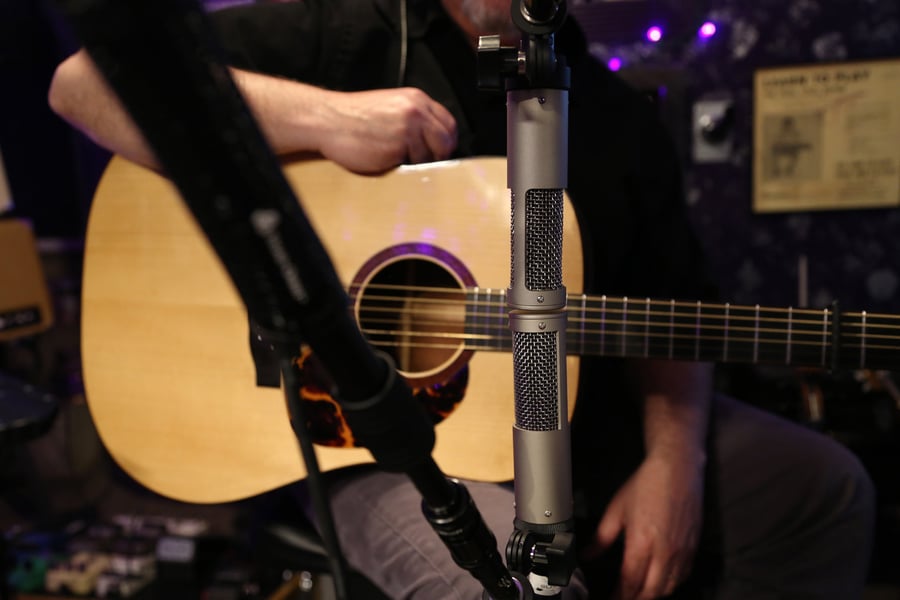
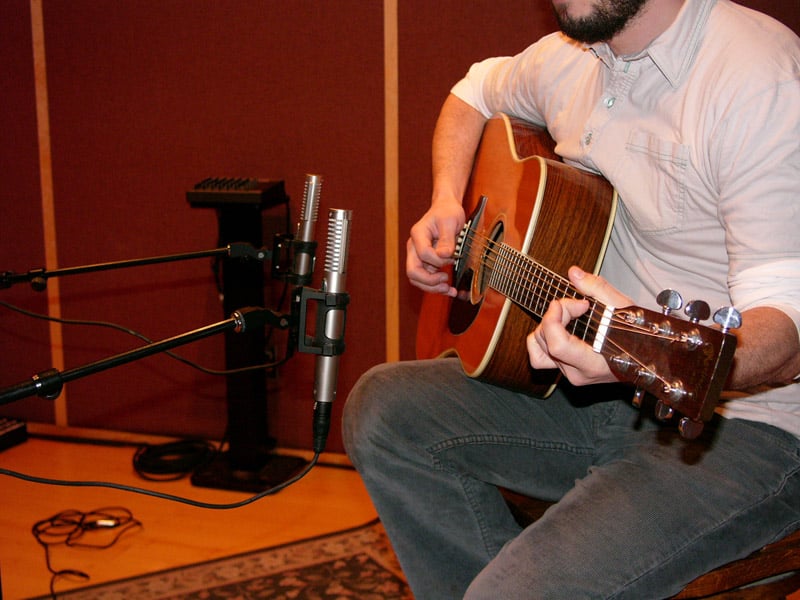
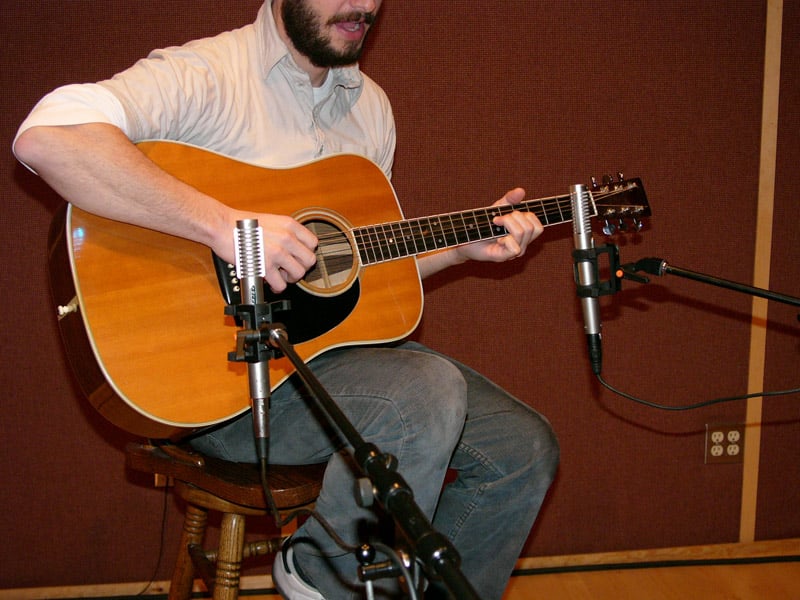
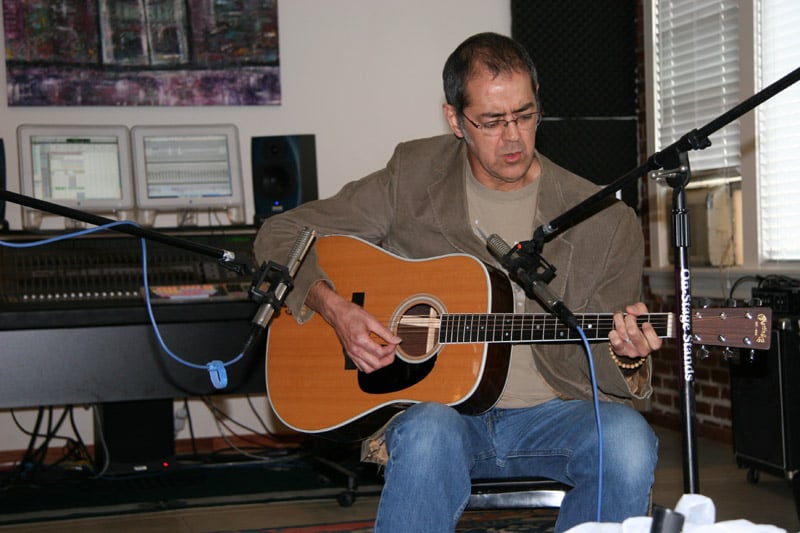
A spaced pair of R-122s will give a nice, wide stereo recording. Again, we suggest using the back side of both mics, remembering to flip phase at your pres.

SF-series and stereo ribbon mics
When using an SF-series mic, try the same position on the neck (12th fret) but at least a few inches further back from the guitar. If you’re using an SF-12 or SF-24 stereo ribbon mic, also experiment with the mic out in front of the guitar for great stereo acoustic guitar tracks.

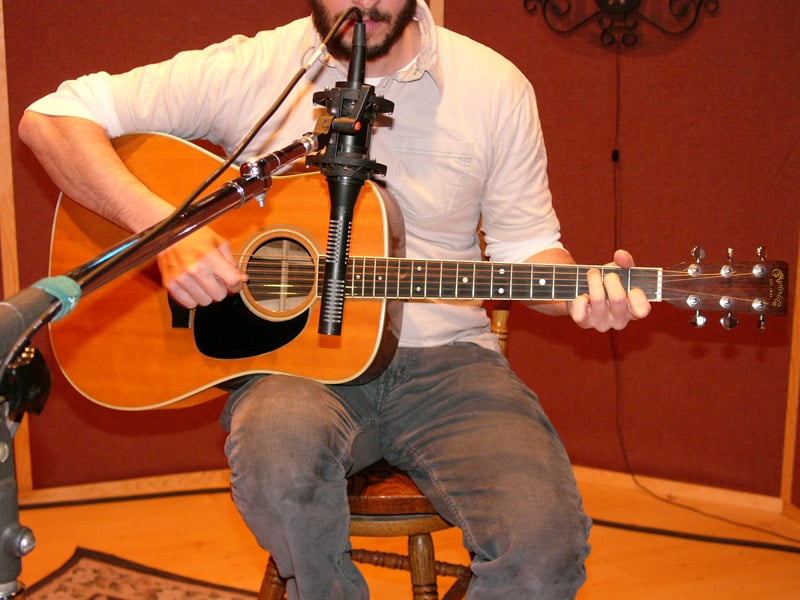
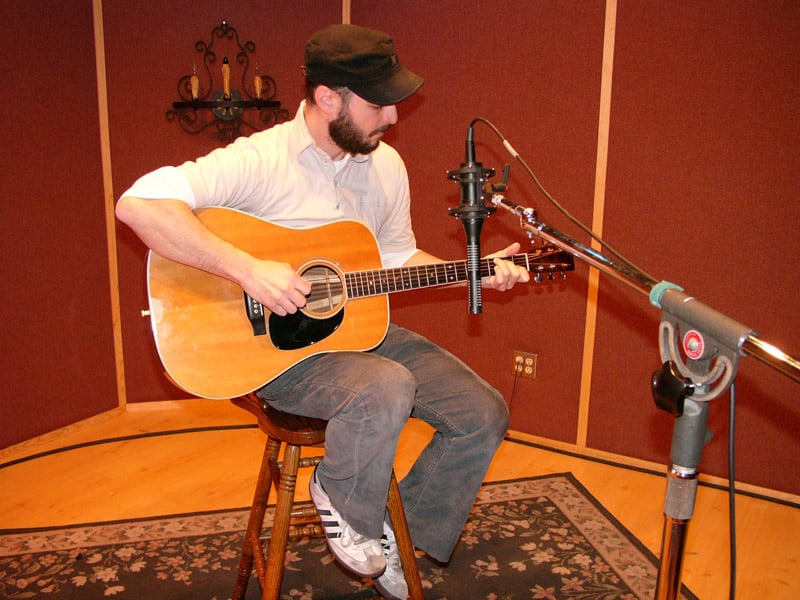
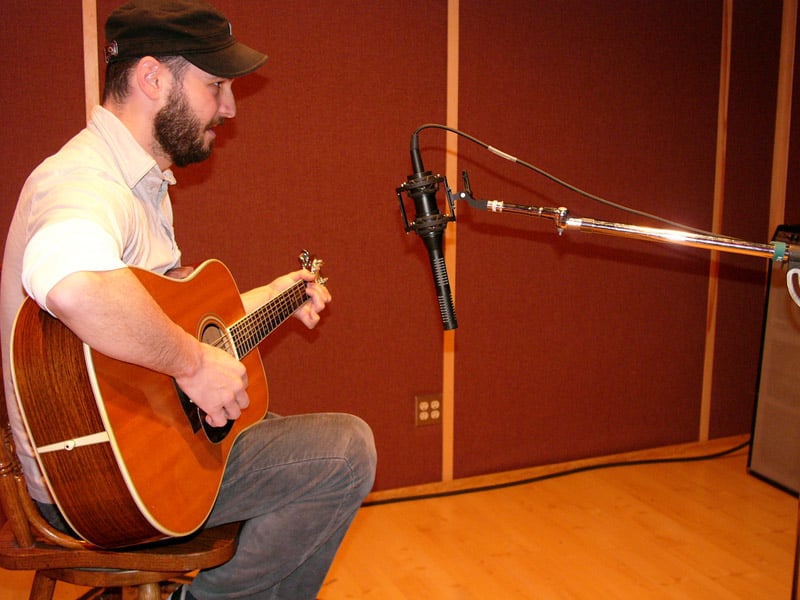

Another technique is to place an SF-24 stereo ribbon several feet above the player, positioned horizontally like a stereo drum overhead mic. It’s an extremely natural sounding position that picks up the guitar more from the perspective of where the guitarist hears the instrument.

Multiple miking
Some engineers like using multiple microphones when they track acoustic guitar. Blending microphones with different sonic personalities is an alternative to EQ’ing: rather than tweaking frequencies, you simply choose from the different sounds available to you through the mics you’ve chosen. You can blend the tracks as you record, or record the mics to separate tracks and decide how you’d like to blend them at mixdown.
There are many ways to combine microphones. One simple way to go is to position an R-122 at the 12th fret, then add a small or large diaphragm condenser mic off the body of the guitar, aimed slightly behind the bridge.
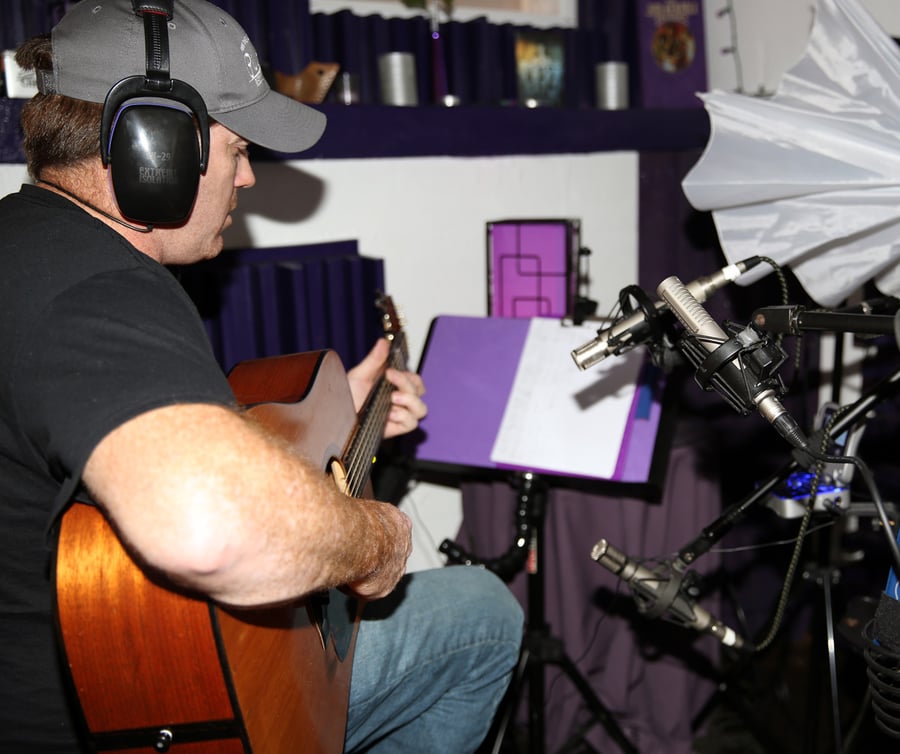
Another suggestion is to record a track of ribbon mic and a track of direct signal from the guitar pickup (if your guitar has one). You’ll get the warmth and natural response of the ribbon, with the more immediate feel of the pickup blended to taste.
Here are a few other methods to try.
Space a pair of R-122s wide apart, one mic near the top of the neck and one near the end of the body, then add a large diaphragm condenser mic (Mojave Audio MA-200 shown) around where the neck of the guitar meets the body. Blend to taste.


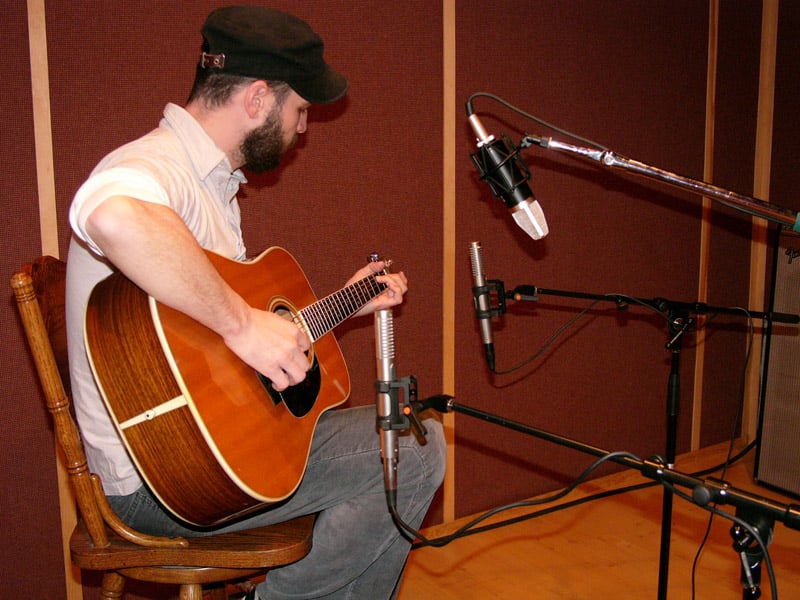
Now try the same setup, but with a small diaphragm condenser (Mojave Audio MA-100 shown).
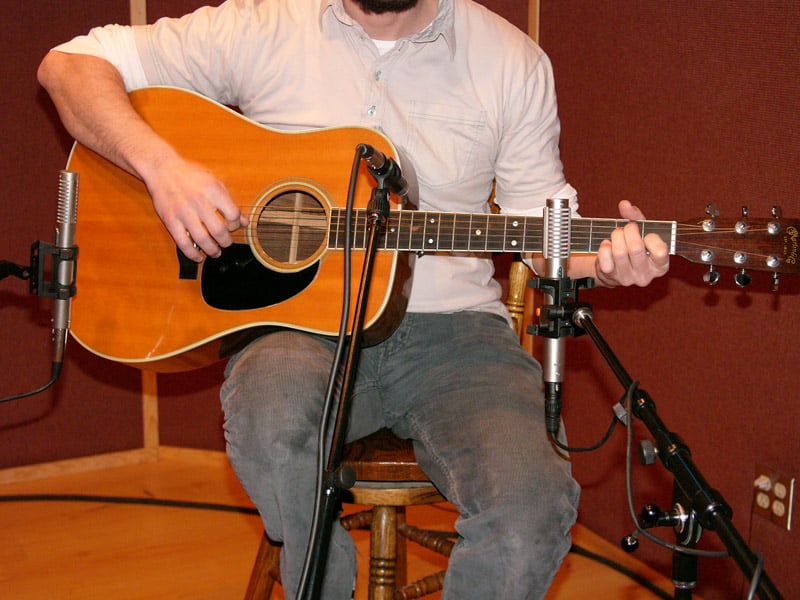

Try the SF-24 overhead setup with a large diaphragm condenser positioned in front of the guitar.

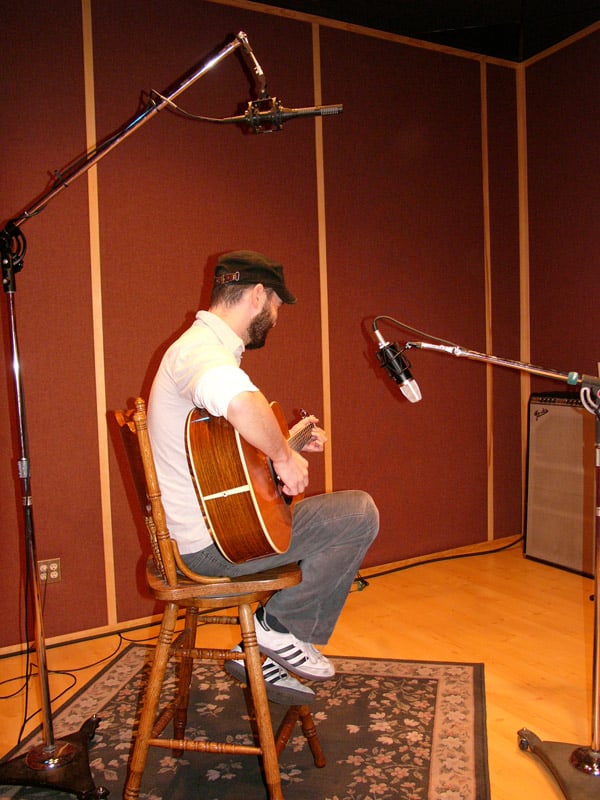
These are a few good starting points. Experimentation is always the key to your own unique sounds! The acoustic guitar is a beautiful instrument and ribbons will help you bring out the best in it.
Acoustic guitar videos
R-122 MKIIs on acoustic guitar, in the mix and soloed.
Andrew Synowiec recording four different acoustic guitars with his standard two R-122 MKIIs on a stereo bar.
Recording acoustic guitar (Taylor and Martin)
Recording nylon string guitar
Recording 12-string guitar
Recording baritone guitar
Ukulele
One ribbon mic about 12 inches off the body delivers a warm, natural-sounding ukulele recording.
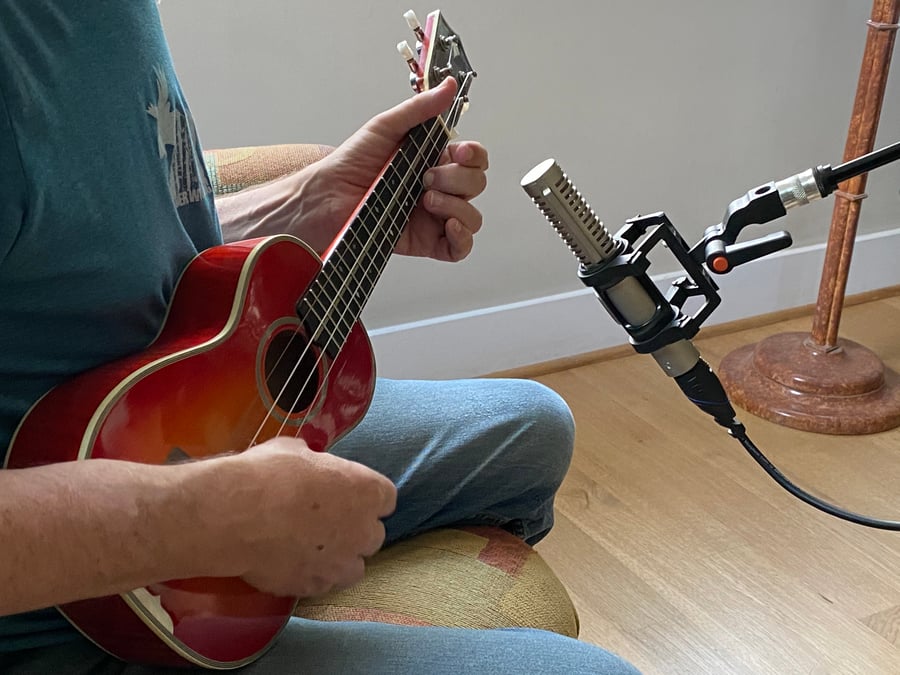
Recording ukulele on a pair of R-122 MKIIs.
Violin
The violin benefits more from ribbon microphones than almost any other instrument. Ribbon mics record violin extremely naturally, with no shrill highs. Classical violinists generally record at a distance of three feet or more above the instrument. Fiddle players are usually miked closer, 15 to 24 inches from the instrument.
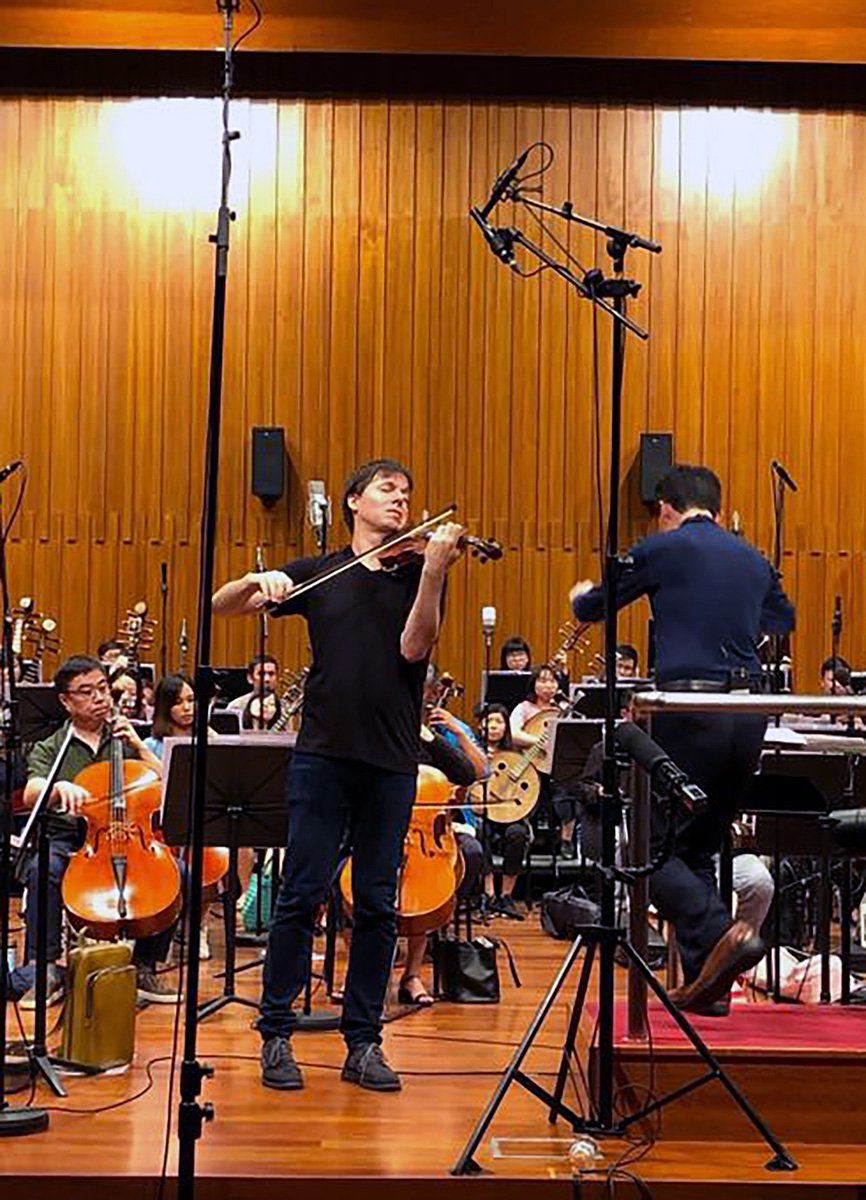
Rachel Barton Pine records Bach using a pair of SF-2s.
Tim Crouch plays Soldier’s Joy on the fiddle with one R-10 ribbon mic plugged into a Royer dBooster for additional level.
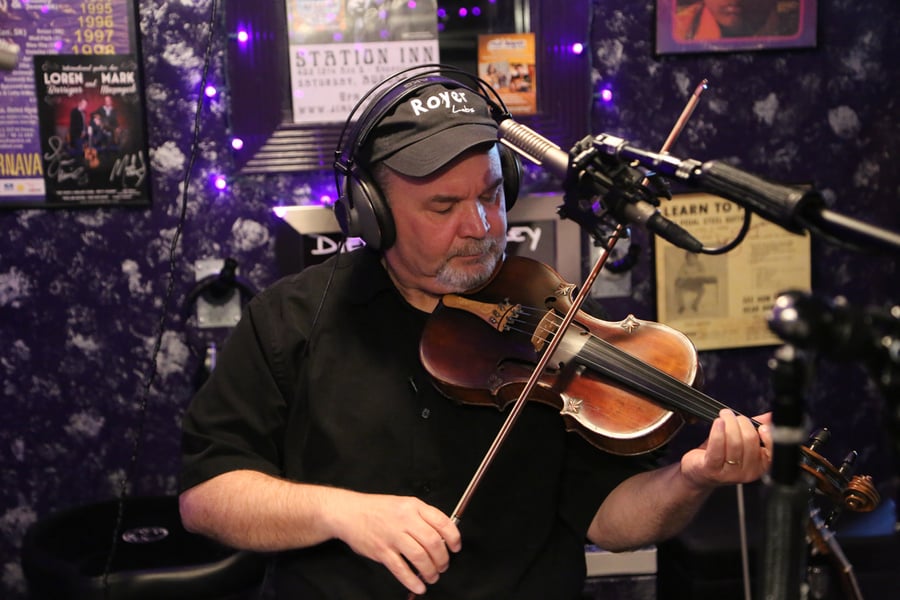
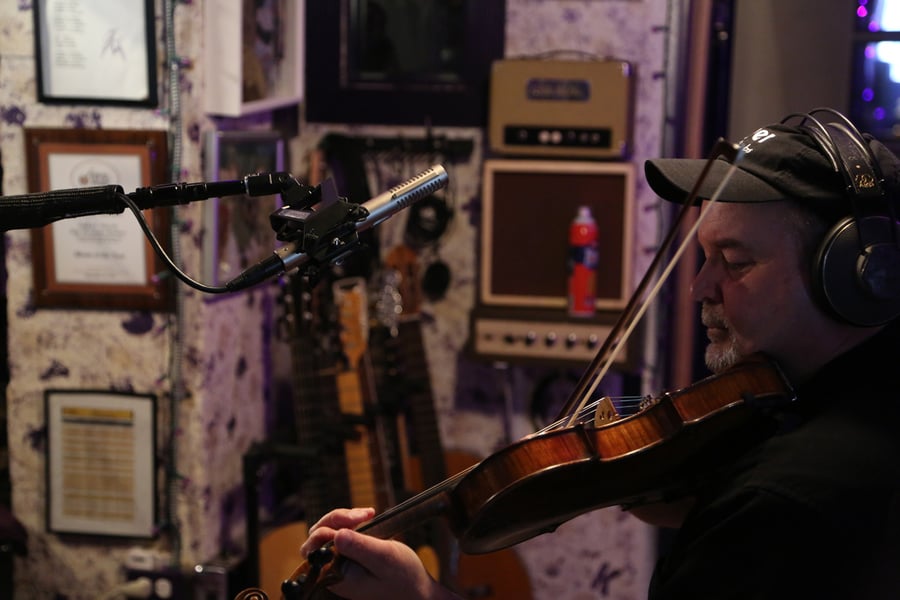
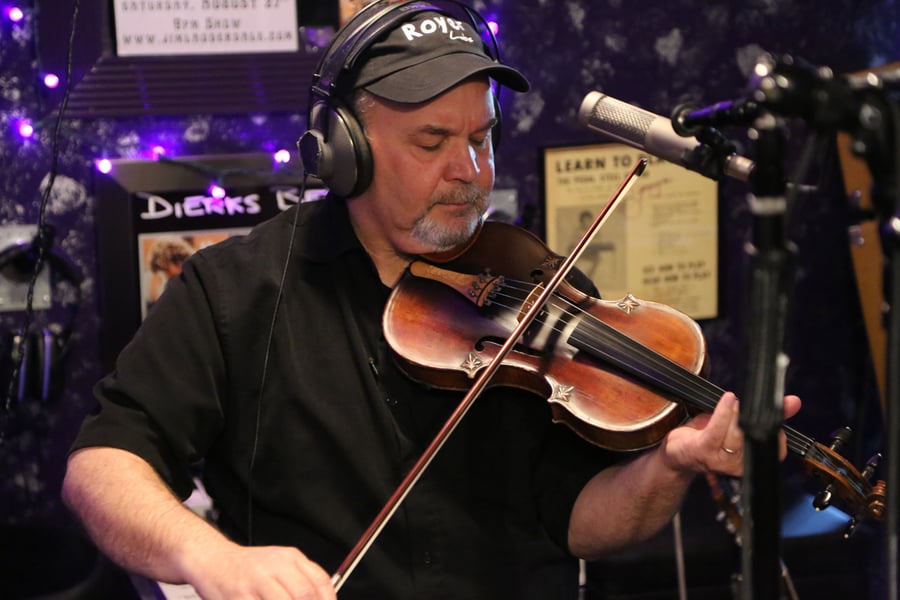
R-122 MKII on fiddle, in the mix and soloed.
Cello
Royer ribbons are unmatched in picking up the gorgeous tonality and texture of the cello.
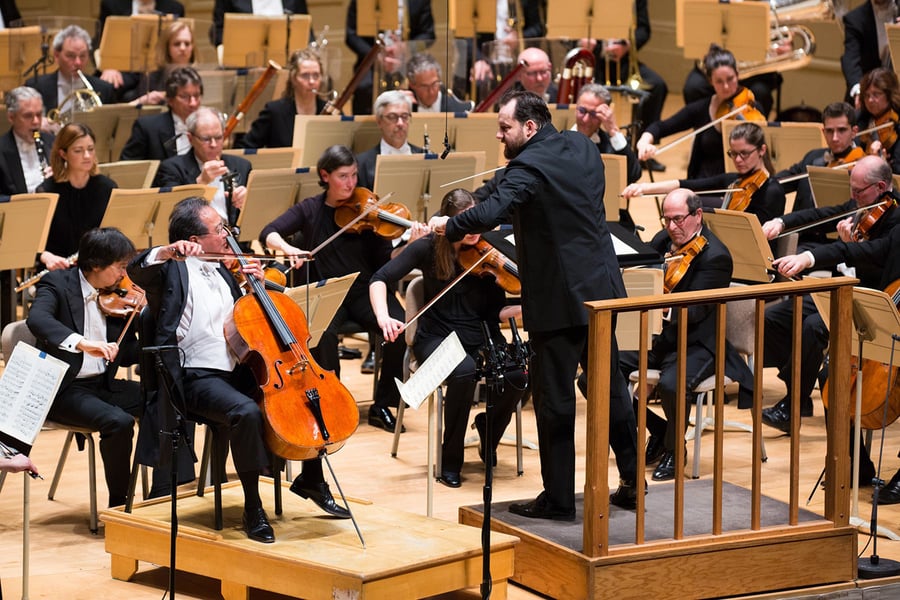
Ben Sollee playing cello and singing on an R-122.
Skylar Grey, All Will Be Forgotten. Multiple takes of one cello recorded on an R-121. Hear it in the audio and video library.
Winona Zelenka plays, with recording engineer Ron Searles talking about how he records her using R-122 ribbon mics.
Mandolin
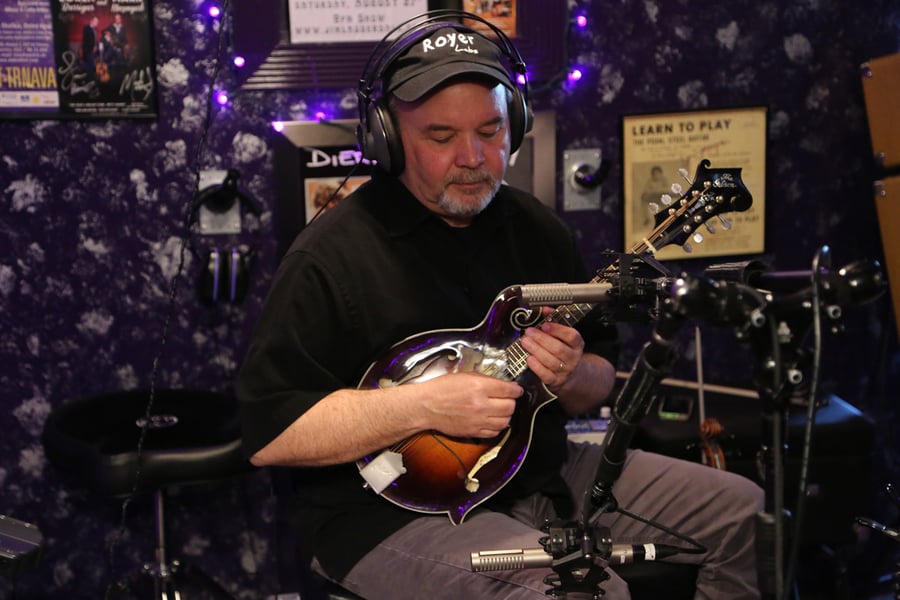
Two R-10s on mandolin, in the mix and soloed.
Dobro
A pair of R-121s or R-122s over a Dobro captures all of the body and the detailed highs without sounding piercing or thin.
Randy Kohrs using a pair of R-122s on Dobro, on a Jim Lauderdale session: soloed Dobro first, then in the mix.
Bouzouki
One R-121 or R-122 12 inches in front of the bouzouki is a good starting position.
A pair of R-122s is a great multi-miking solution.
Duet and ensemble
These videos show successful ribbon microphone positioning on two or more musicians.
One R-121 on acoustic guitar, cello and vocal.
Darlingside and friends miked up with lots of ribbons and a few condensers. More technical info on the Darlingside session.
Fab Dupont recording Will Knox and band entirely on ribbons (with a condenser on the vocals).
dBooster inline signal booster
Recording acoustic instruments using non-powered ribbon microphones sometimes calls for additional level to drive your mic pre or DAW. The Royer dBooster is a super-clean, in-line signal booster designed like the front end of a high-end preamplifier. With two gain levels, it’s a great complement to Royer R-121 and R-10 ribbon mics, as well as dynamic microphones like the Shure SM7 or SM57.
Guitarist Shawn Tubbs shows how the dBooster works.