
How to
Recording on the back of an R-series microphone
Two microphones in one. At distances of three feet and closer, the back side of a Royer R-series ribbon mic has a slightly brighter response than the front side.
Two microphones in one
At distances of three feet and closer, the back side of every Royer R-series microphone (the R-10, R-12, R-121, R-122 MKII and R-122V, and the earlier R-101 and R-122) has a slightly brighter response than the front side. It’s a subtle difference, but very useful when recording acoustic instruments, vocals and other sound sources that might require a little more top end. We’ll refer only to the R-121 for this writing, but the backside technique applies to all Royer R-series mics.
To compare the forward and backward sides of an R-121 on acoustic guitar, hear both takes, level-matched, in the audio and video library.
How to record on the back side
To record on the back side of an R-series mic, turn the microphone around (logo side facing away from the instrument or vocalist, as shown below), and either flip the phase switch on your mic preamplifier or use a phase reverse cable or adapter to flip phase. The R-121’s pattern is figure-8, so the front side of the mic is in-phase (forward or positive polarity) and the rear side is reverse-phase (reverse or negative polarity). Flipping the phase will make the back side of the mic the forward-polarity side.
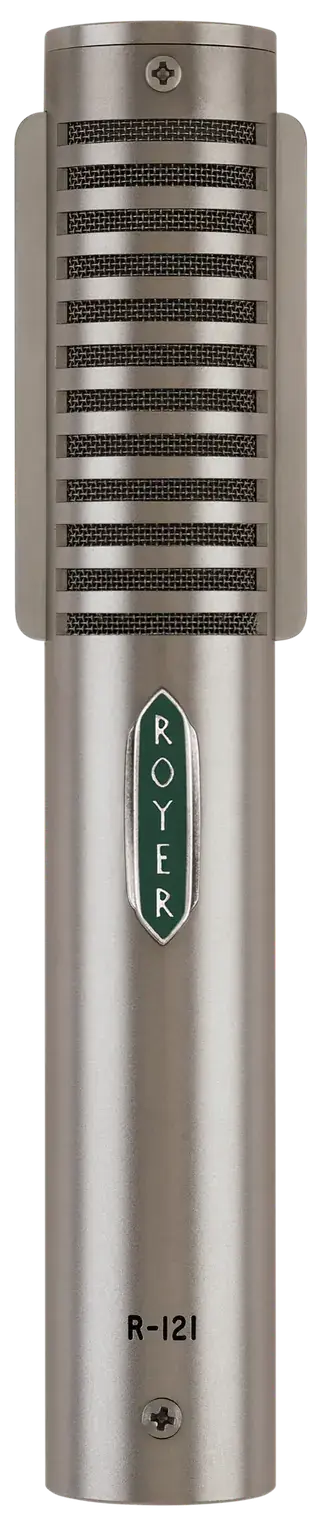
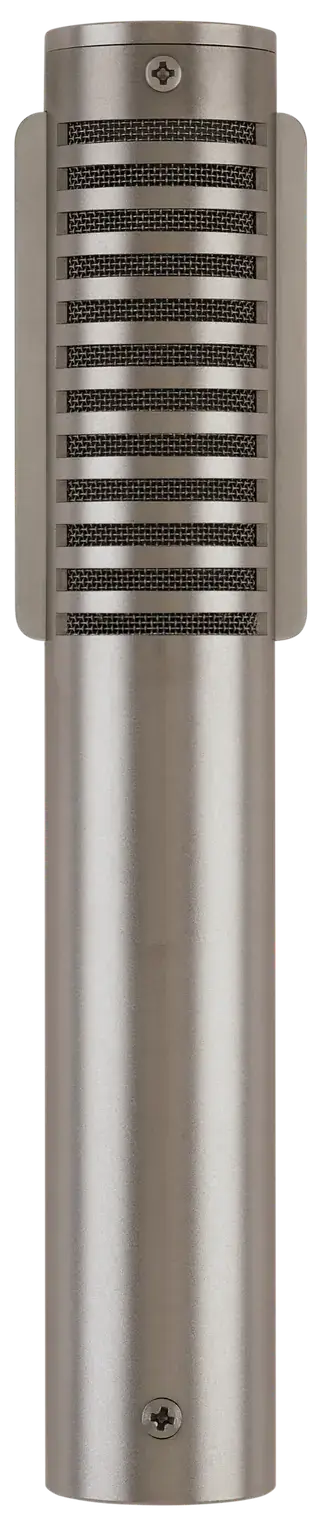
Vocals
When recording vocals, position a pop filter 3″ or more from the mic, have the singer start at 6″ to 8″ from the mic, and make your position changes from that starting point. For a large, very warm response, have the singer move in closer on the mic until the proximity effect becomes noticeable.
Acoustic guitar
For a good starting point with acoustic guitar, try positioning the mic 8″ to 12″ off the 12th fret, with the ribbon facing the sound hole.
High SPL sources
The front (logo) side of the R-121 was designed to handle high SPLs. We don’t recommend using the back side for high SPL applications like close-up guitar cabinets. Strong singers (don’t forget the pop filter!) or aggressive acoustic work will present no problem to either side of an R-121.
How it works
Our patented Offset Ribbon transducer design, found only on Royer R-series ribbon mics, creates the sonic difference on the two sides of the mic. This design positions the ribbon element slightly forward of the center of the microphone (closer to the logo side), giving more room for rearward excursions of the ribbon element during high SPL use. The sonic difference on the back side was actually a happy accident. Being offset, the ribbon element is in a different position relative to the chamber of the microphone. When the mic is flipped around, the difference in the ribbon position creates an acoustical difference that is quite useful.
The effect is only noticed at distances of three feet or closer to the mic. Distant sound sources (further than three feet from the mic) will record exactly the same on both sides of the microphone.
Remember to use a pop filter when using the R-121 or R-122 for vocals.